So back to the computer. I’ve actually been spending more time on the computer than on costumes. I want to kinda walk through the progression of the background image for this year’s picture, and how it progressed from a concept through completion.
Without further adieu, feast your eyes upon this masterwork of draftsmanship and design. Behold the flowing lines. Marvel at the intricate detail. Feel the warm tones brighten your very soul.
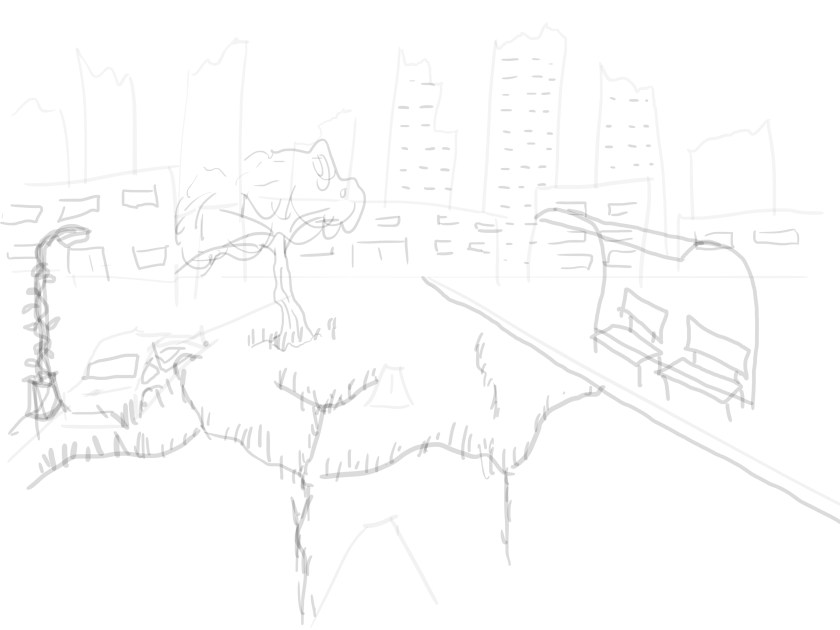
Sorry, I was thinking of something else. This drawing is pretty crappy. BUT. It’s good enough. We see that we have a city street with a bust stop, a broken down car, a lamp post that is covered in vines, and the street is cracked and there is grass and trees taking advantage of said cracks. You will see that that stays pretty consistant throughout. And while the location remains the same, it does end up with quite a different feel than what I originally had in mind.
The “feel” in question I had originally though of as very similar to Fallout. Here’s a promotional image for Fallout 4:
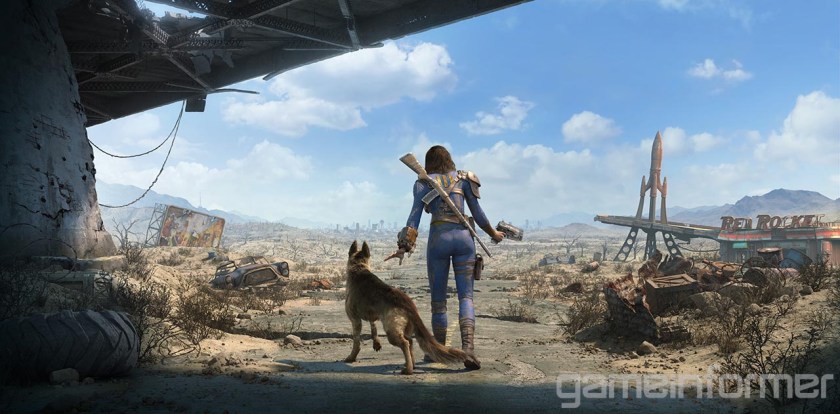
As you can see, the guys at Bethesda are really great at world building. There is tons of detail everywhere, lots of visual story telling, and the world looks very “lived in”. However, it’s all very…. brown. So as I was working on this, I remembered that I hate that about Fallout. It’s great at first, but after you’ve spent 50 hours exploring the wasteland, it starts to wear on you. And as this picture will eventually be hanging on my wall, I’d like something a little more pleasing to the eye. So I decided to go green. I’m so woke.
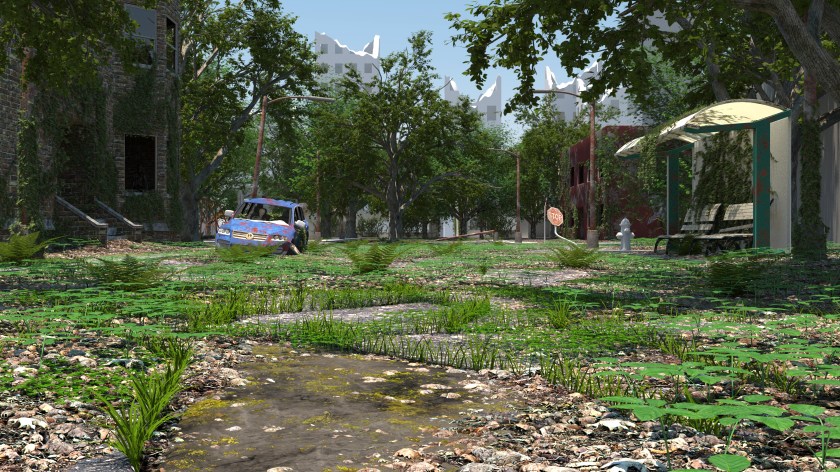
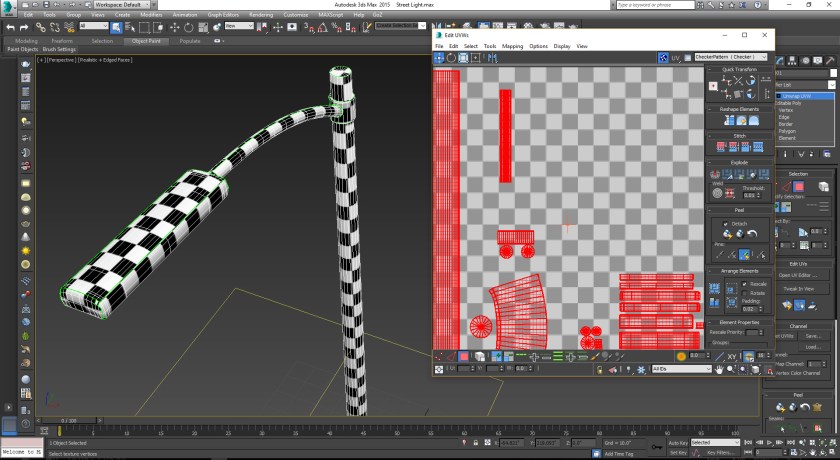
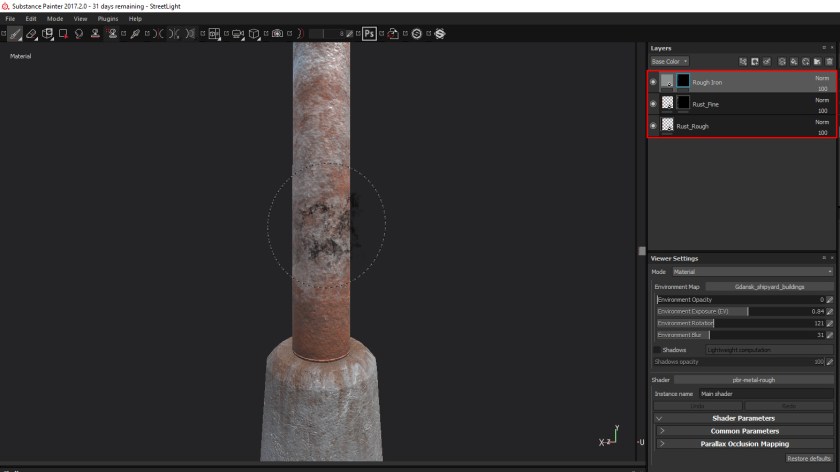
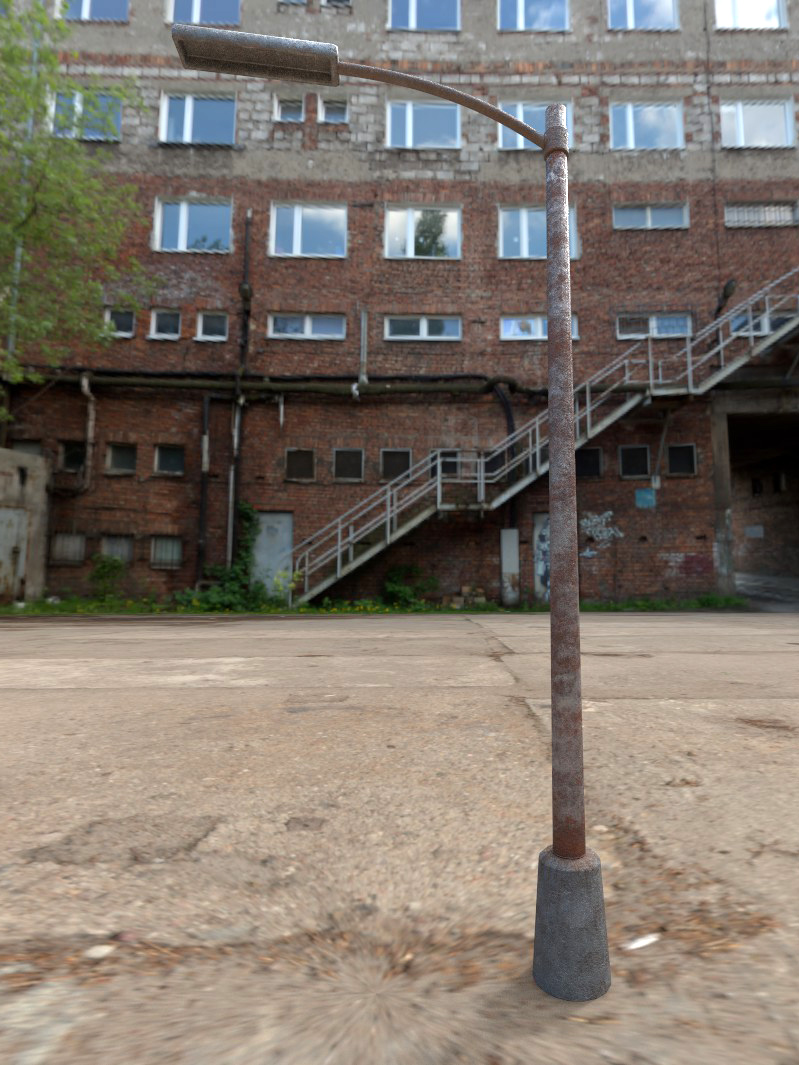
So with that in mind, here’s the first 3d blockout of the scene, complete with vegitation, including grass, trees, ivy, and ferns. Usually that would be something you add at the end, but since it’s so integral to the feel of the image, I put it in early. If you’ve been following along, you might notice the bus station and street lights I modeled in an earlier post. No textures yet, just getting a feel for the scene. The buildings are mostly just cubes, except for the one on the left, and the skyscrapers, which have a little more detail but are still just placeholder. But I’m liking where this is going.
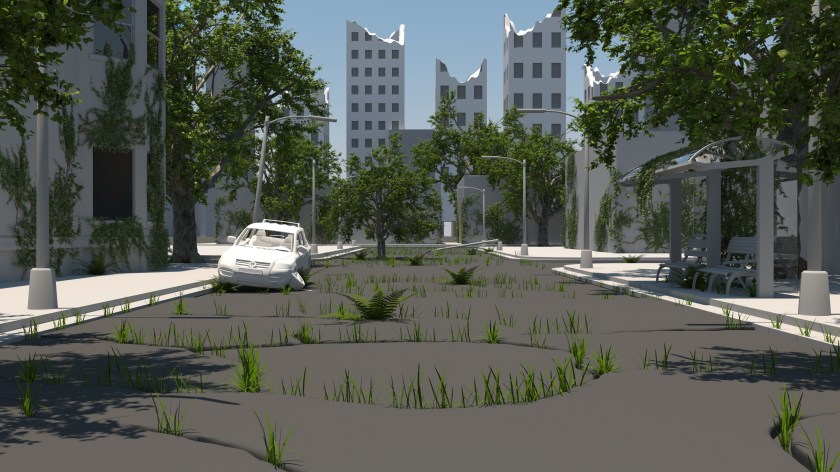
Now we’ve fleshed things out a bit more. I’ve added some detail to the building on the left, in the form of some stairs and a doorway. I’ve added some ivy to the lamp post on the left. Playing around with the street some more. Still not happy with it. We’ve added a fire hydrant, a swing set and a climby dome thingy, some stop signs, fleshed out some of the buildings some more, added a brick texture to our apartment building. It’s coming along.
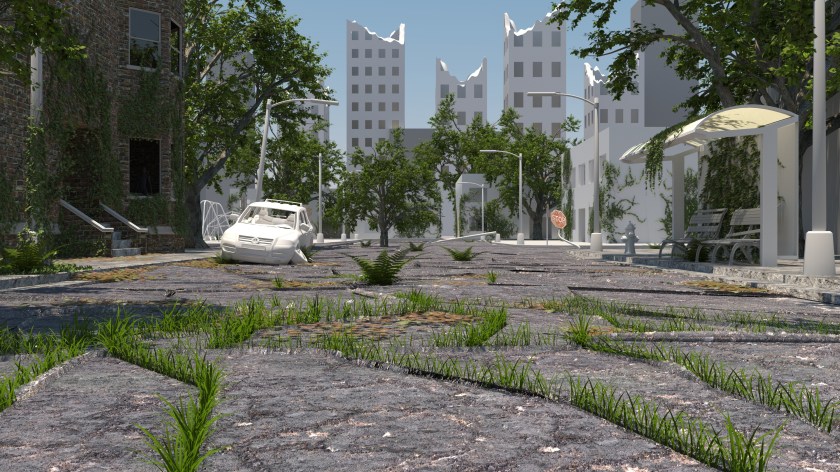
I textured another building, a added a different type of tree to the scene, textured some of the car. Added a skeleton to the passenger seat of the car. Things are looking good, but the ground is really still bothering me. The ground is literally half the image, and it’s the closest thing to the camera, so it’s gotta look good. I modeled some clovers, and I felt that was a step in the right direction. Then I was messing around with the texture on the closest chunk of street, and I liked it, but it wasn’t not enough. Something was still wrong.

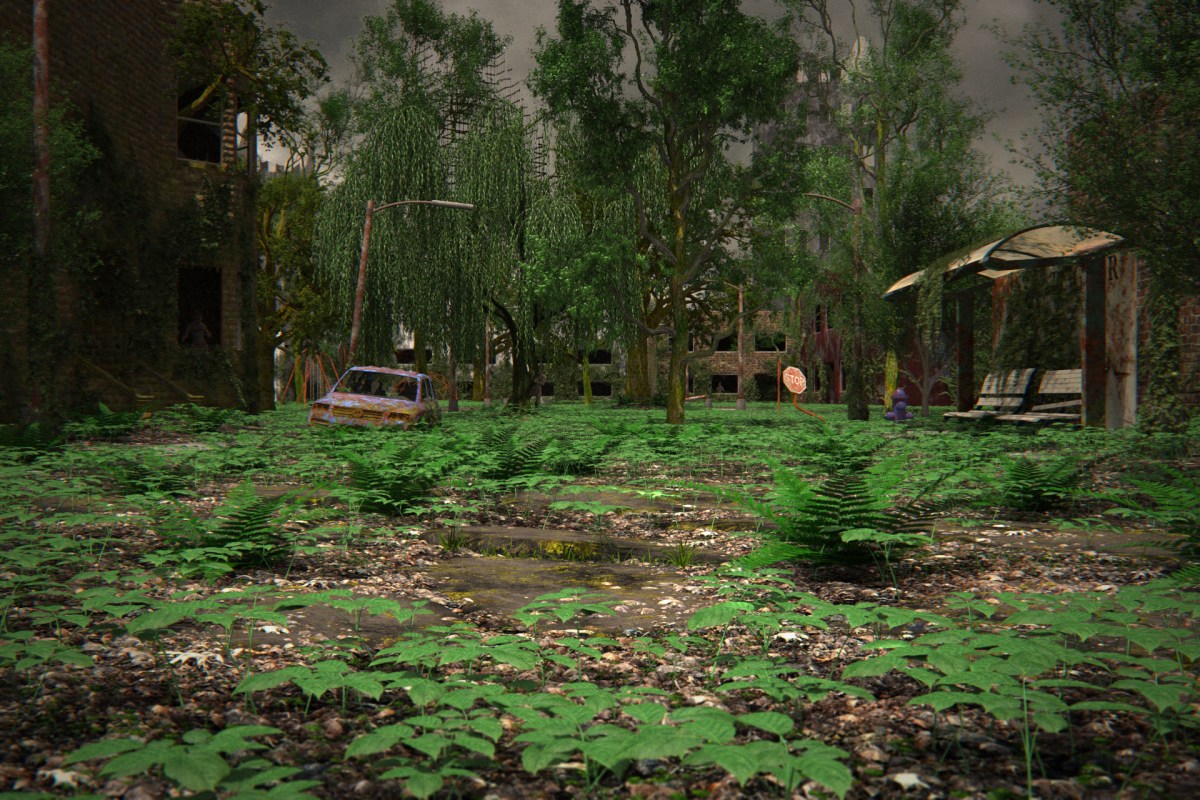
Luckily I figured it out. So I did some thinking, and I realized that for trees to grow that big in the middle of the street, it would have to be decades after the collapse. in that time, there would be tons of leaves built up with no one to get rid of them. With all that mulch turning into soil, you’d end up with a veritable forest floor. So that’s where I went with it. I looked at lots of reference of hardwood forests, and I came up with something that I’m really happy with. There’s leaves everywhere, clovers, and sarsaparilla, which is that leafy ground cover plant you see everywhere. Now we’re talking.
I decided to go a little darker with the mood by making it overcast, and an angry looking sky. I set up a system that randomly generates the plants at render time. It looks better and is uses significantly less memory. Once I get the photos of us done, I may tweak a few things, depending on the composition turns out, but for now, I’m calling it done. Put a fork in it.



 2014. The year of high fantasy. Dad (me) as the Warrior, Mom as the Rogue, Braxton as the Paladin, Ryder as the Black Mage, and Raegan as the White Mage. We guardians of the realm stand atop the fallen dragon. Our family motto blows in the breeze on our banner: Leo de Judah est robur nostrum. The Lion of Judah is our strength.
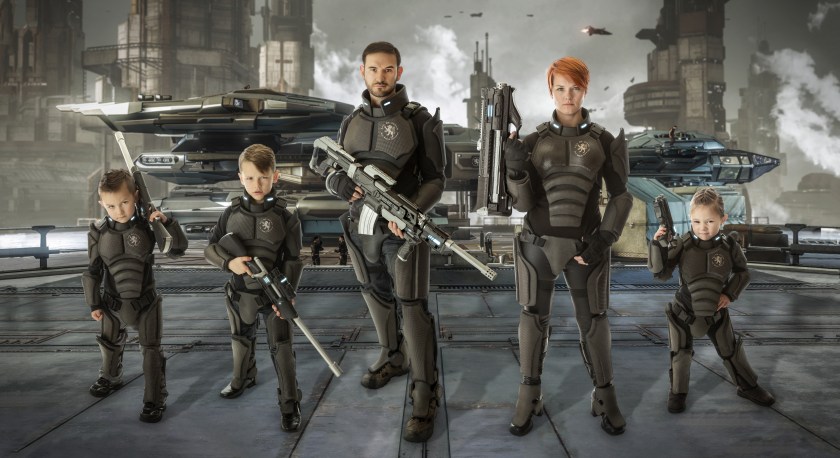 2015. My fellow nerds will notice the Robert’s Space Industries’ Constellation Andromeda in the background. We are a unit of elite space mercenaries. You see the looks on those kids faces? Best check yourself.
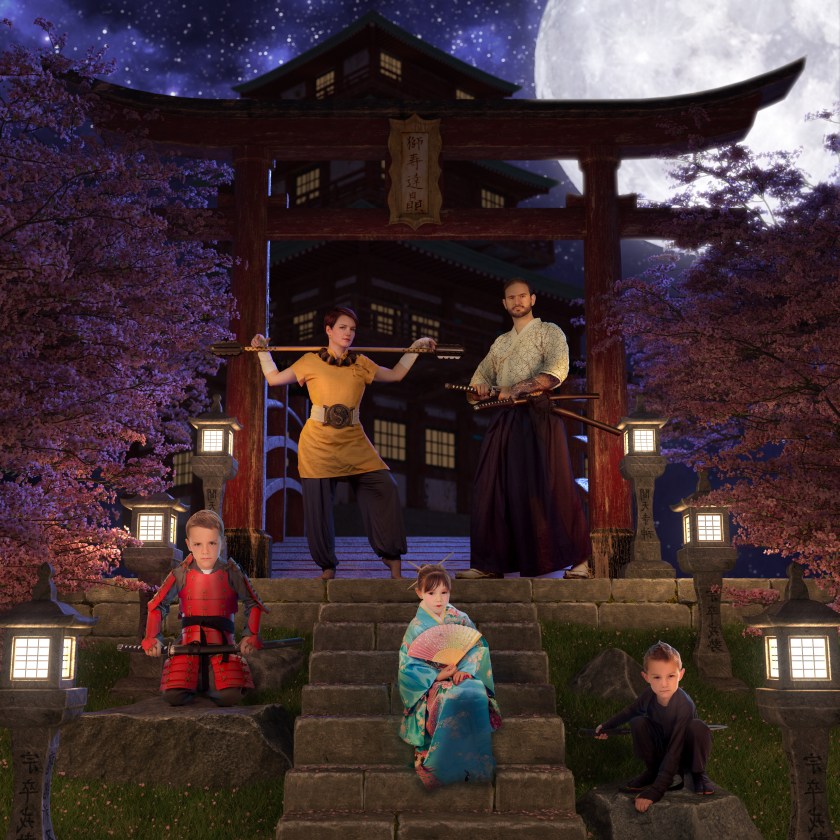 2016. Soguiiiiii!!!!!! Feudal Japan. Dad as the Samurai, Mom as the Monk, Braxton as the armored Samurai, Ryder as the Ninja, and Raegan as the Geisha. You’ve never seen 5 gaijin looking so bushido.