
Today I’m taking a break from costume creation to focus on digital content. Now some people don’t know this, but much of what you see in movies and TV these days, isn’t actually real. No seriously, it’s what we call CGI, or computer generated imagery. It only looks real.
For our backdrop this year, it’s looking like it will be primarily CGI, and I will be doing most of the modeling myself. How does one make a 3d model on a computer? Well, I’m glad you asked. There’s a few different ways to go about it, but for the bus stop I created today, I did what’s commonly called box modeling. As you will see, I literally start with just a box, and begin to tweak it, stretch it, and mold it into what I want it to be. You can start with a box, a cylinder, a sphere, a plane, or any number of primitive geometric shapes, but the principle is the same. Then you turn on your favorite Spotify playlist, get in the zone, and before you know it, it’s done! It’s just that easy folks. I modeled this bus station in 2 minutes and 15 seconds flat. Here’s the video to prove it. Thanks to my brother Matt for providing the music. I stole it off his Soundcloud. I’m sure he’s cool with it…
Kinda nifty, huh? What happens after you model it? Another astute question. I just so happen to have also modeled this street light. Spoler alert: It’s gonna be an urban scene. Here’s the street light in quesion:

Pretty simple stuff. I just started with a bunch of cylinders for the base, the pole, the coupler and arm, and a box for the head. The next step is called UV layout, and it suuuuuuucks. Generally regarded as the most tedious and least fulfilling part of 3d modeling, but it must be done.
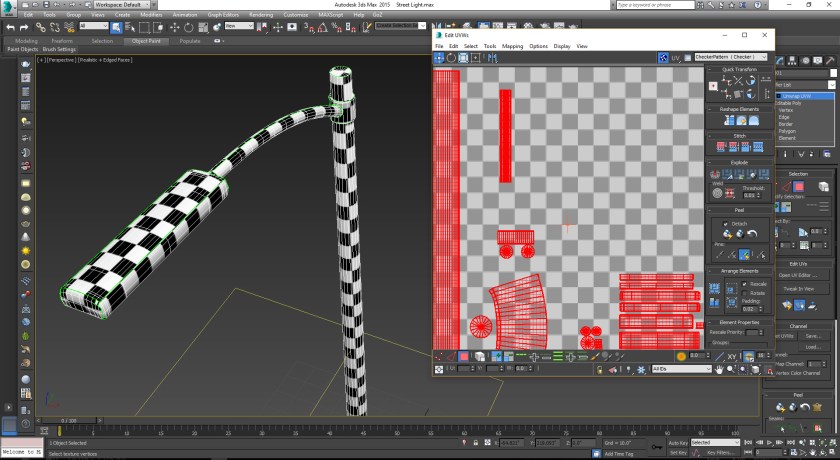
Here I am in the UV editor. Laying out UVs is like skinning things. Like skinning a deer so you can stretch the pelt to make leather, it needs to be flat. In order to map textures onto any 3d model you have to skin it and lay it out flat. It’s all very tedious and boring, so I’ll just mention that the point of the checker pattern is a tool to make sure that the different sections are sized the same. Once that’s done, the fun can begin.
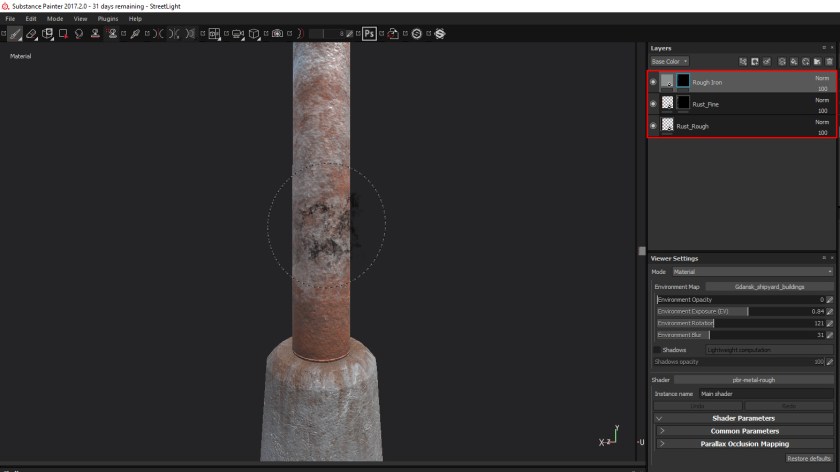
The next part is texturing, which is the reward you get for suffering through the UV layout. I’m using a new program for me called Substance Painter. It lets you paint directly on the model using materials. So you can see in the Layers panel in the top right, I have a rough iron, rough rust, and fine rust, and I can use a paint brush to blend them together. It works very well. You can see on the concrete base where I painted in some rust streaks coming off the pillar.
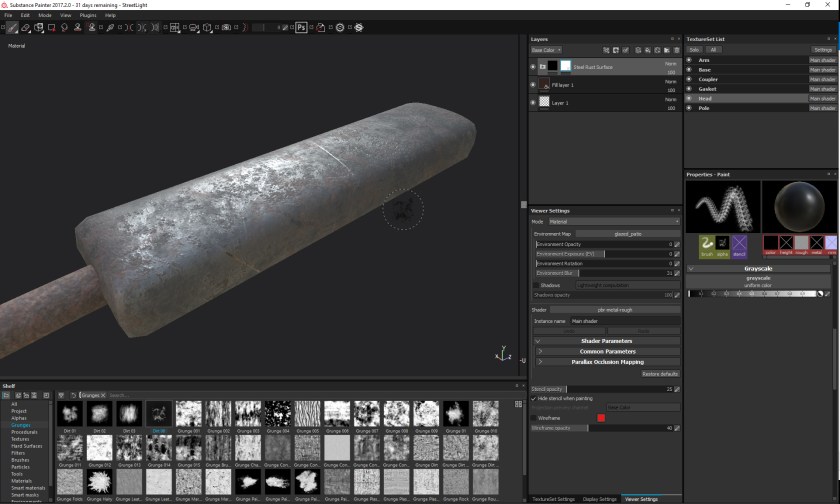
Here’s a view of the head of the streetlight. I’m adding some rust. Surprised?
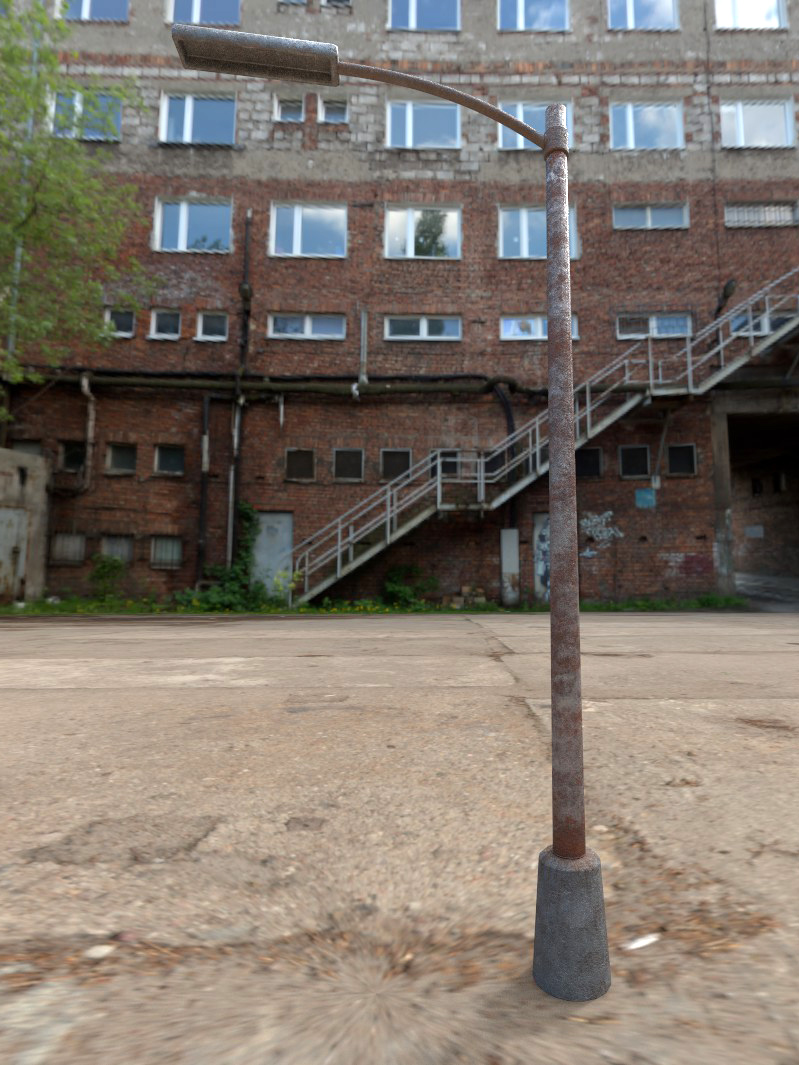
Here’s a test render of the finished model. The environment is just for testing purposes, but it’s pretty close to what’s in my brain. Anyways, we’ll need to add some lights to this lamp post, but besides that, I think it’s done! Actually, now that I’m looking at it… I think it needs more rust….
